
Are you finding your Minecraft world feels a bit sluggish, especially when you are using lots of added content? Perhaps you are trying to enjoy a big modpack or some really beautiful shaders, and the game just isn't keeping up. Many players run into moments where the game stutters or even freezes, which is truly no fun at all. It can make playing a favorite game feel like a chore, and nobody wants that, is that right?
For many folks, the answer to these performance hiccups often lies in giving Minecraft a bit more memory to work with. The game, particularly the Java Edition, can really benefit from having more dedicated system memory, often called RAM. This extra memory helps it handle all those extra bits and pieces – like complex mods, detailed textures, or a bustling server with many players – without getting bogged down. We will go through some simple steps to help you make these changes, which are updated for versions like 1.20 and beyond.
This article will show you exactly how to give Minecraft the memory it needs, whether you are playing alone or running a server for friends. We will talk about how much memory is just right, and what might happen if you add too much. By the time you are done here, you should have a good idea of how to make your Minecraft experience much more enjoyable, with fewer annoying pauses and a smoother flow to your adventures, you know?
Table of Contents
- Why Bother Giving Minecraft More Memory?
- Figuring Out How Much Memory to Give
- Giving More Memory to Minecraft Java Edition
- Allocating Memory for Minecraft Servers
- When Things Still Feel Slow
- Frequently Asked Questions
Why Bother Giving Minecraft More Memory?
You might be wondering why this whole idea of adding more memory to Minecraft even matters. Well, the truth is, the default memory setting for Minecraft, which is often around 3 gigabytes, might not be enough for everyone. It really depends on how you play the game, you see. If you are just running the basic game, it might be perfectly fine, but many players do much more than that.
Laggy Gameplay and Modpacks
One of the biggest reasons players look into this is to fix lag. When you add a lot of mods to Minecraft, especially those huge modpacks that change so much about the game, they take up a lot of space. This can lead to moments where the game just struggles, and you get those annoying lag spikes, which really interrupt the fun. Giving the game more memory helps it keep all those mod files ready to go, so it does not have to constantly load new bits, which is a big help.
Shaders and Visual Upgrades
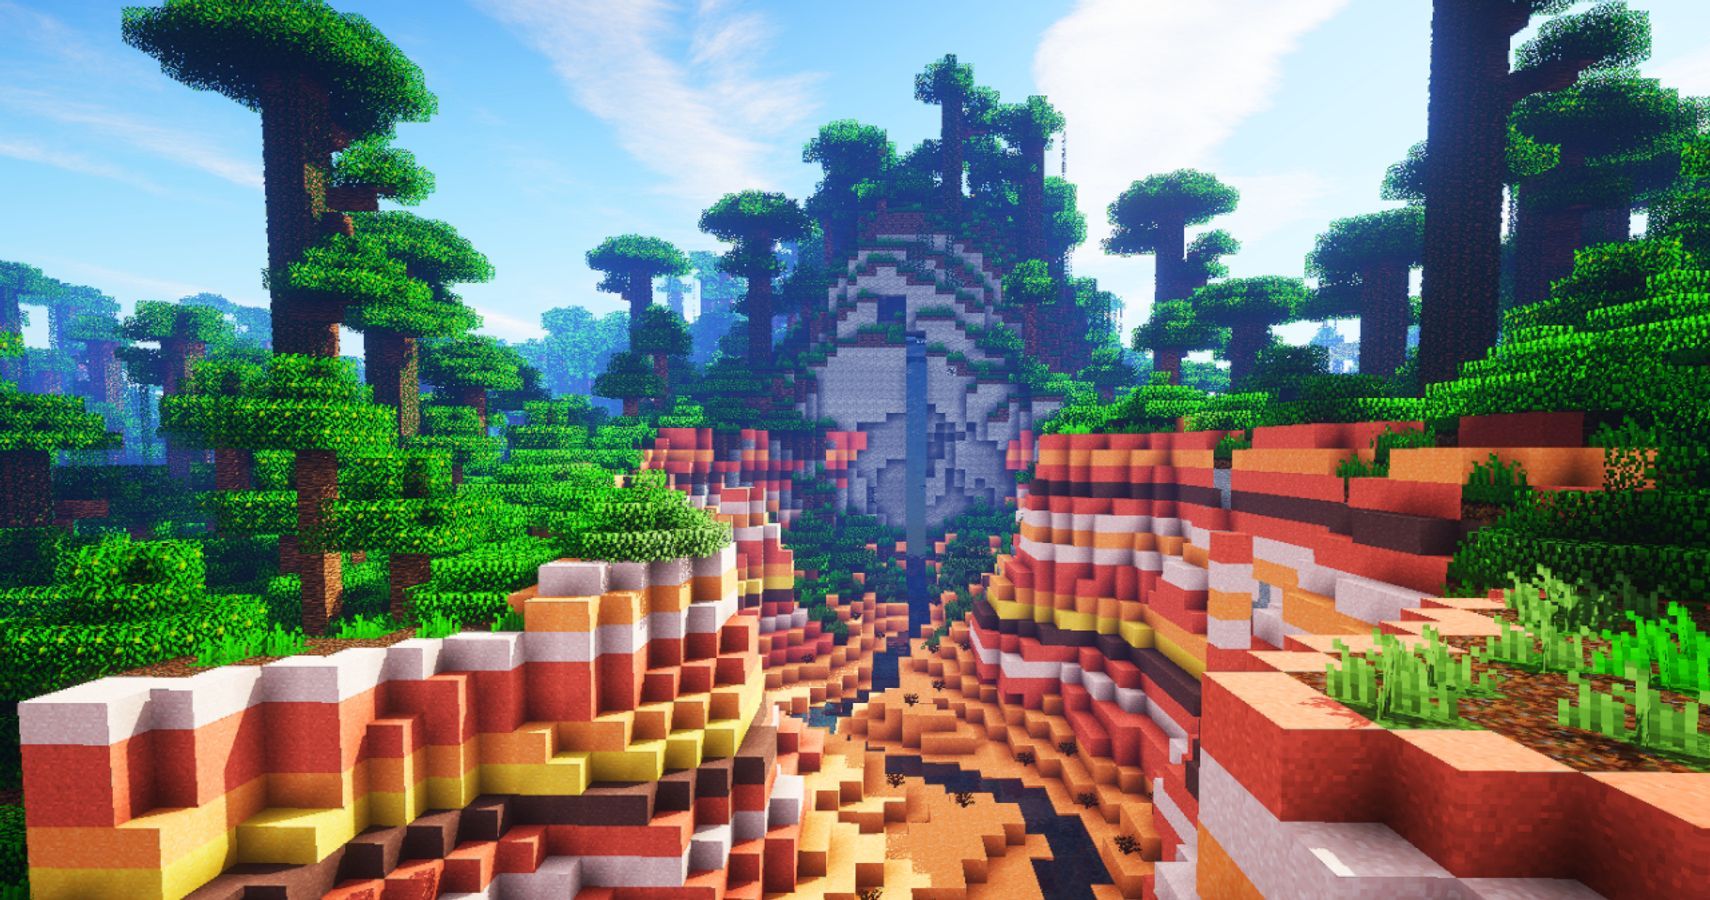
Another common reason for wanting more memory comes from using shaders. These are visual additions that make your Minecraft world look absolutely stunning, with realistic lighting, shadows, and water effects. However, these visual upgrades are quite demanding on your computer's resources. Some players have found that adding more memory made a world of difference in how smooth their game felt, especially when using things like complementary shaders, which can be quite intense. It helps the game process all those beautiful details without a hitch, apparently.
Server Stability
If you are running a Minecraft server, especially for a group of friends or with a lot of custom content, memory becomes even more important. Usually, servers work pretty well with the standard memory amount if you do not have too many players or too many extra things installed. But if you have a modded server, say for version 1.20.1, and you are trying to add more memory, it is usually because the existing amount just is not enough to keep things running smoothly for everyone. More memory helps the server handle all the player actions and world changes without slowing down, or so it seems.
Figuring Out How Much Memory to Give
So, how do you know how much memory is the right amount to give? This is a really important question, because giving too little will not fix your problems, but giving too much can actually cause different kinds of issues. It is a bit of a balancing act, you know?
Checking Your PC's Available Memory
Before you change anything, you should really check how much memory your computer actually has. You can do this by looking at your task manager. This tool shows you how much memory is available on your computer, which helps you understand your limits. For example, if you have a computer with only 2 gigabytes of memory, you can only give a certain amount to Minecraft, like maybe 1400 megabytes, which is pretty close to your total. Knowing your total memory is the first step, so it is almost like taking inventory of your computer's capabilities.
What's a Good Amount?
For most players, especially those with modpacks or shaders, somewhere between 4 to 8 gigabytes of memory is a good place to start for Minecraft. If your computer has 16 gigabytes of total memory, giving 8 gigabytes to Minecraft usually leaves enough for your operating system and other programs to run without trouble. If you only have 8 gigabytes total, you might want to stick to 4 or 6 gigabytes for Minecraft. It is generally a good idea to leave some memory for your computer's other tasks, otherwise things can get a bit slow overall.
The Pitfall of Too Much Memory
Now, this is a very important point: more memory is better, but only up to a certain point. Giving Minecraft too much memory will, at best, just waste a ton of memory that the game will never actually use. Your computer could be using that memory for other things, but it is just sitting there, unused by Minecraft. At worst, giving too much memory can lead to problems like a memory leak. This is where the game slowly uses up more and more memory without releasing it, which silently builds up to your maximum allocation, making your computer slower over time. Also, Minecraft's internal memory management, sometimes called "garbage collection," is, well, not always the best. Whenever this garbage collection runs, you might experience considerable lag if you have allocated an excessive amount of memory. It is like trying to clean a huge room with a tiny broom; it takes a long time and might cause more mess before it gets better, you know?
Giving More Memory to Minecraft Java Edition
Okay, let us get to the actual steps for changing the memory for your Minecraft Java Edition. This is done through the official Minecraft Launcher, which makes it pretty straightforward. These steps are generally good for current versions, including 1.20 and beyond, but we will also mention older versions too, just in case.
Step 1: Open the Minecraft Launcher
The very first thing you need to do is open up your Minecraft Launcher. This is the application you use to start the game, choose your version, and manage your game profiles. It is usually found on your desktop or in your applications folder, basically.
Step 2: Find Your Installations
Once the launcher is open, look for the "Installations" tab at the top. Click on that. This section shows you all the different game versions and profiles you have set up, whether it is the latest release, a snapshot, or a specific modded instance. It is where all your game setups live, so to speak.
Step 3: Change the Game Profile
Now, find the specific game profile you want to change. This might be your main "Latest Release" profile, or it could be a custom profile you made for a modpack. Once you find it, hover your mouse over it. You will see three dots appear on the right side. Click on these dots, and a small menu will pop up. From this menu, choose "Edit." This takes you to the settings for that particular game setup, you see.
Step 4: Adjust the JVM Arguments
In the "Edit Installation" screen, you will see a bunch of settings. Look for a section called "More Options" or something similar, and click on it to expand it. Inside this section, you will find a box labeled "JVM Arguments." This is where the magic happens. You will see a line of code that starts with something like `-Xmx2G` or `-Xmx3G`. The "Xmx" part tells Minecraft how much maximum memory it can use. The number after it, followed by "G" (for gigabytes) or "M" (for megabytes), is the current memory allocation. For example, `-Xmx4G` means 4 gigabytes. To change this, simply edit the number to your desired amount. If you want to give Minecraft 8 gigabytes, you would change it to `-Xmx8G`. Make sure you type it correctly, as a small mistake can prevent the game from starting. Once you have made your change, click "Save" at the bottom right. It is pretty simple, actually, once you know where to look.
A Quick Look at Older Versions
For those who might be playing older versions, like 1.13.1, or using an older launcher version like 2.1, the steps are very similar. The path is still generally "Minecraft Launcher > Installations > Edit." The "JVM Arguments" section has been around for a while, so the method for changing the `-Xmx` value remains the same. The process has been updated and corrected for 1.20+ versions, but the core idea has stayed consistent for quite some time, so it is almost the same process.
Allocating Memory for Minecraft Servers
Running a Minecraft server means you are handling the game for multiple players, so memory management is a bit different. You will not be using the regular Minecraft Launcher for this. Instead, you will be editing a file that tells your server how to start up. This is a common question, especially for modded servers, as a matter of fact.
Editing Your Server's Startup Script
Most Minecraft servers are started using a batch file (with a `.bat` extension on Windows) or a shell script (with a `.sh` extension on Linux/macOS). You need to find this file in your server's folder. Open this file using a simple text editor, like Notepad on Windows or TextEdit on Mac. Inside, you will see some lines of code that tell your computer to run the Java program for Minecraft. You are looking for a line that contains `java -Xmx`.
What to Put in the Script
In your server startup script, you will likely find a line that looks something like this: `java -Xmx1024M -Xms1024M -jar minecraft_server.jar nogui`. The `-Xmx` part, as before, sets the maximum memory. The `-Xms` part sets the initial memory that the server will start with. It is often a good idea to set both to the same value to prevent memory resizing during gameplay, which can cause lag. For example, if you want to give your server 6 gigabytes of memory, you would change the line to `java -Xmx6G -Xms6G -jar minecraft_server.jar nogui`. Some server setup guides might have this section "commented out" with a `#` symbol at the beginning of the line, meaning it is ignored. You will need to remove that `#` to "uncomment" the line and make your changes active. People often ask about this, especially when they have already uncommented the section in the `jvm_arguments` section and added their desired amount of memory. Remember to save the file after you make your changes, otherwise they will not take effect, you know?
For more detailed information on setting up and optimizing Minecraft servers, you can learn more about server configuration on our site, which might be helpful.
When Things Still Feel Slow
Sometimes, even after carefully allocating more memory to Minecraft, the game might still feel slow. This can be a bit frustrating, especially when you have done everything right. It is important to remember that memory is just one part of your computer's performance picture, so it is almost like one piece of a bigger puzzle.
Beyond Just Memory
If you have added, say, 1400 megabytes of memory to Minecraft on a PC with only 2 gigabytes of total memory, and the game is still slow, it might not be a memory issue anymore. Your computer's other components play a big role too. Things like your processor (CPU), your graphics card (GPU), and even how fast your storage drive is (SSD versus HDD) all affect game performance. If your CPU is struggling to process all the game's calculations, or your graphics card cannot render all the beautiful visuals fast enough, adding more memory might not make a noticeable difference. It is also worth checking if other programs are running in the background and using up resources, which can slow everything down, you know?
Some players also try adding "virtual memory" to their system, which uses a portion of their hard drive as if it were extra RAM. While this can sometimes help with very low memory situations, it is much slower than real RAM and usually does not fix performance problems in demanding games like Minecraft. If you are curious about how your computer's hardware affects game performance, you can link to this page about PC hardware basics for more information.
The Memory Leak Puzzle
As mentioned before, allocating too much memory can, at worst, lead to a memory leak. This is a situation where the game or a mod silently uses up more and more memory without releasing it, building up to your maximum allocation. This can cause the game to slow down over time during a play session, even if it starts out fine. If you notice performance getting worse the longer you play, a memory leak might be the culprit. Checking your system's memory usage in Task Manager while playing can help you spot this. If you see Minecraft's memory usage steadily climbing higher and higher without coming back down, that might be what is happening, apparently.
Frequently Asked Questions
Here are some common questions people ask about allocating memory to Minecraft, which might help clear up any remaining thoughts you have.
How much RAM should I allocate to Minecraft?
The best amount really depends on your computer's total memory and what you plan to do in Minecraft. For a basic game, 2-4 gigabytes is often fine. If you are using modpacks or shaders, 6-8 gigabytes is a good starting point if your computer has enough total memory (like 16 gigabytes or more). It is a bit of a trial-and-error process to find the sweet spot, you know?
Can allocating too much RAM hurt Minecraft?
Yes, it certainly can. Giving Minecraft too much memory can lead to wasted resources, as the game will not use it all. More seriously, it can cause performance issues due to Minecraft's garbage collection process, which can introduce lag spikes. In some cases, it might even lead to memory leaks, where the game slowly consumes more and more memory over time, making your computer sluggish. So, finding the right balance is very important.
How do I know how much RAM I can actually allocate?
You can check your computer's total available memory by opening Task Manager (on Windows, press Ctrl+Shift+Esc). Go to the "Performance" tab and look at the "Memory" section. This will show you how much memory your computer has installed. A good rule of thumb is to never allocate more than half of your total system memory to Minecraft, and always leave at least 4 gigabytes for your operating system and other background programs to run smoothly. This way, you avoid making your whole computer slow, which is a good thing.

Detail Author:
- Name : Gayle McClure
- Username : medhurst.beatrice
- Email : wava08@gmail.com
- Birthdate : 1990-11-23
- Address : 73814 Berge Highway North Angelo, LA 77273
- Phone : 1-484-765-1095
- Company : Anderson, Aufderhar and Luettgen
- Job : HVAC Mechanic
- Bio : Quis qui consequatur dolor odit quasi rerum. Voluptate sint ex quam.
Socials
instagram:
- url : https://instagram.com/o'konk
- username : o'konk
- bio : Non impedit eos corrupti id est voluptatem facere vel. Ut fugiat ullam vel minus.
- followers : 2963
- following : 2670
facebook:
- url : https://facebook.com/kareem_official
- username : kareem_official
- bio : Magnam non excepturi eos velit et.
- followers : 4338
- following : 1211
