
Have you ever looked at stunning henna art and thought, "Wow, that looks amazing, but I could never do it myself?" Well, you're certainly not alone in that feeling. Many people feel a bit intimidated by the intricate patterns often seen, which is perfectly understandable, really. However, the truth is, creating beautiful henna designs, even if you're just starting out, is a lot more approachable than you might think.
This guide is all about showing you how simple it can be to get started with this ancient and beautiful art form. We'll explore the very basics, giving you the confidence to pick up a henna cone and try some lovely patterns on your own. It's about finding joy in the process and seeing what you can create, you know?
We'll cover everything from what henna actually is, to getting your supplies ready, and even some really easy designs that are perfect for beginners. You might be surprised at just how quickly you can make something pretty. So, let's get ready to make some lovely temporary art, shall we?
Table of Contents
- What is Henna, Anyway?
- Why Try Easy Henna Designs?
- Getting Started: Your Henna Toolkit
- Super Simple Designs for Beginners
- Tips for a Perfect Stain
- Henna's Rich Past and Wellness Perks
- Frequently Asked Questions About Easy Henna
- Your Next Steps in Henna Art
What is Henna, Anyway?
Before we get into drawing, it's good to know a bit about what henna actually is. Henna, which some people also call mehndi, anella, or lalle, is a temporary “tattoo” and hair dye. It comes from the dried and powdered leaves of the henna tree, or Lawsonia inermis, you know? The leaves of this plant contain a natural coloring, which gives us that lovely reddish dye.
A Natural Dye with History
This natural dye has been around for a very, very long time. It's been used since at least the ancient Egyptian period, as a hair and body dye, which is pretty amazing when you think about it. People in many cultures use it to create beautiful patterns for various occasions. It's an ancient medicinal plant that's been used as a natural dye for over 4,000 years, so it's got a lot of history behind it, actually.
More Than Just Art: Henna's Benefits
Beyond just being a lovely way to decorate your skin, henna also has some interesting properties. Its antifungal and antimicrobial properties may be beneficial for the hair and scalp, for instance. Henna's benefits can include relief from hair loss, dandruff, and headaches, too. It even helps to detoxify the body, improve nails, protect the skin, and reduce inflammation, which is quite a list of perks, isn't it? We’ll also dive into the benefits of this plant a little more later on.
Why Try Easy Henna Designs?
So, why focus on easy henna designs? Well, for one thing, they are perfect for beginners. You don't need years of practice to make something that looks good, which is very encouraging. Starting simple builds your confidence, allowing you to get a feel for the henna cone and how the paste flows. It’s a bit like learning to draw with basic shapes before tackling a detailed portrait, you know?
Easy designs are also quick to apply. This means you can try out different patterns without committing a lot of time, which is great if you're just experimenting. Plus, a simple design can be incredibly elegant and striking on its own. You might find that a few well-placed dots and lines are just as beautiful as something super complex. It's really about enjoying the process and seeing what you can create with minimal effort, more or less.
Getting Started: Your Henna Toolkit
You don't need a lot of fancy equipment to begin with easy henna designs. A few basic items will get you going, which is pretty convenient. Having the right tools, even simple ones, makes a big difference in how smoothly your application goes, as a matter of fact.
Choosing Your Henna Cone
The most important tool is, of course, the henna cone itself. For beginners, it's usually best to start with a pre-made natural henna cone. Make sure it's 100% natural henna, as some products contain harsh chemicals that can be harmful. You want a cone that feels comfortable in your hand, not too big or too small, you know? The tip should be fine enough to draw lines, but not so tiny that it clogs easily. A good way to check is to squeeze a little bit onto a piece of paper to see the flow, which is always a good idea.
Preparing Your Skin
Before you apply any henna, your skin needs to be clean and dry. Wash the area with soap and water to remove any oils or lotions, then dry it completely. This helps the henna paste stick better and allows for a darker, longer-lasting stain, which is what we want, right? Some people also like to exfoliate the area gently a day before, but for easy designs, just clean skin is fine. You might find that a little bit of rubbing alcohol on a cotton pad works well too, just to make sure there's no residue, so.
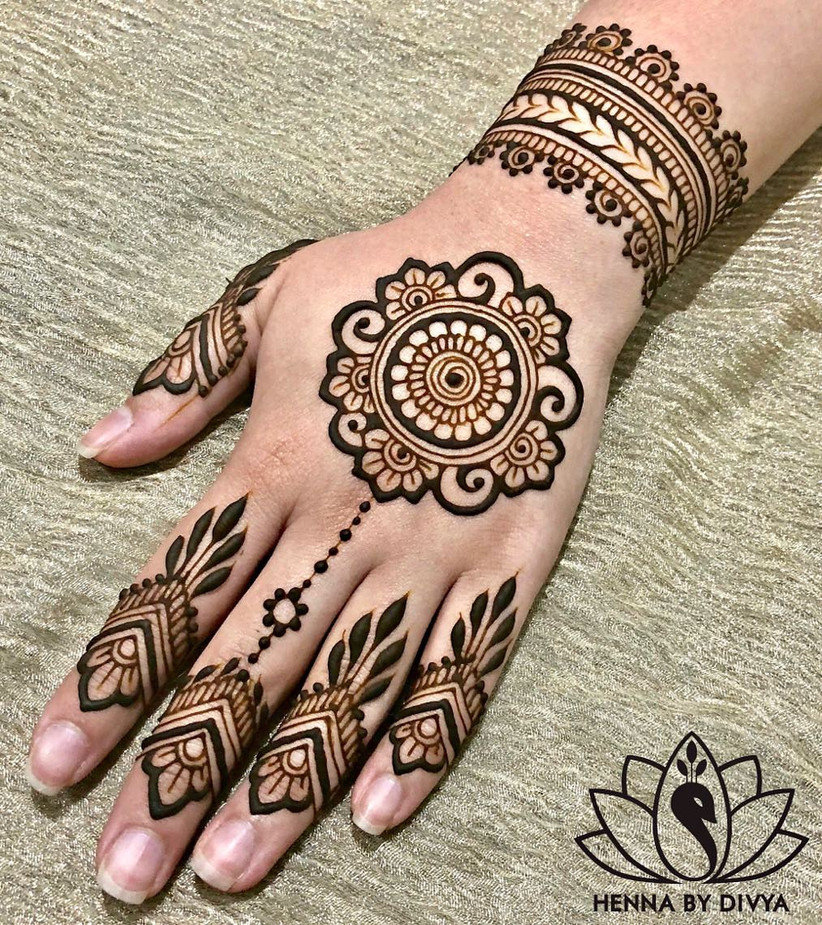
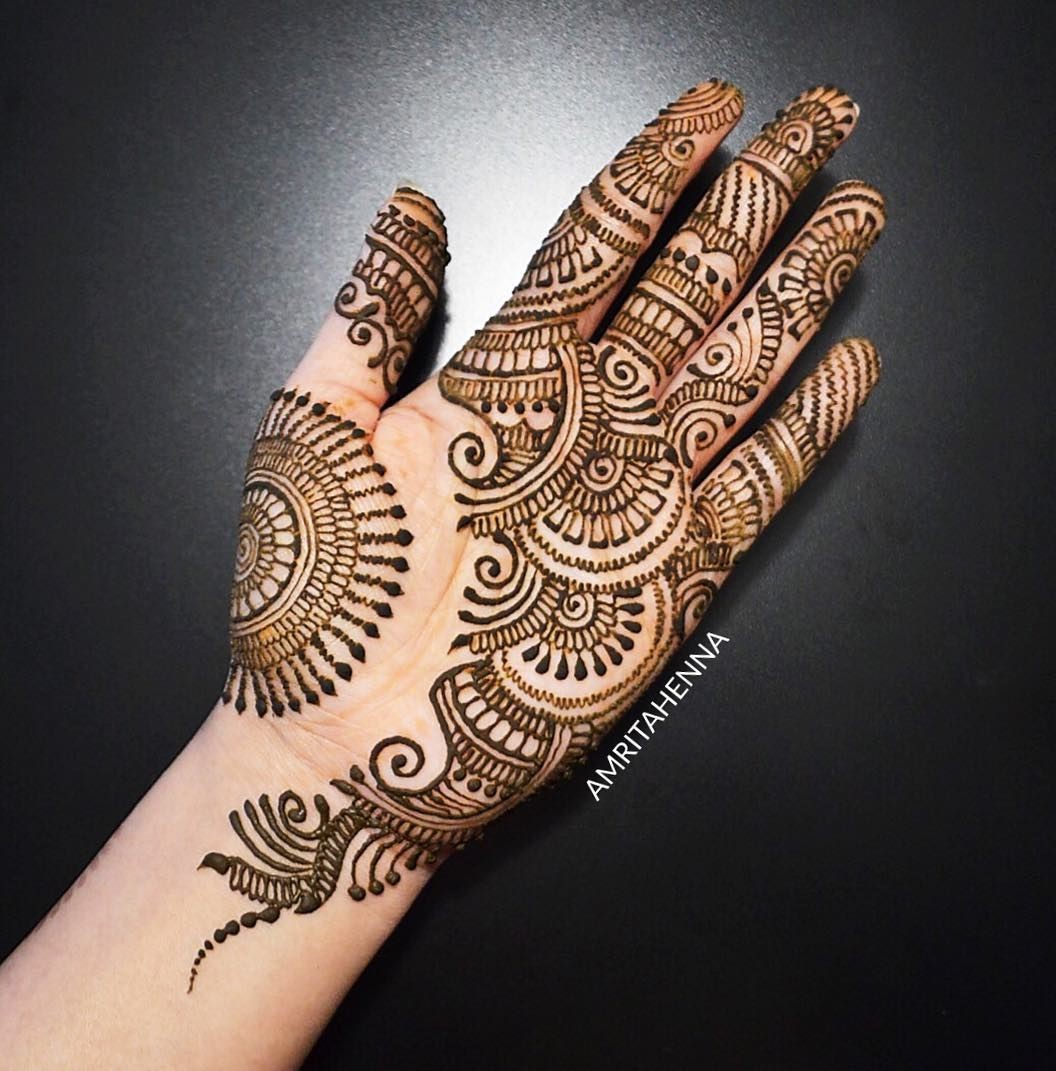
Super Simple Designs for Beginners
Now for the fun part: creating your designs! Remember, practice makes perfect, but even your first attempts can be really charming. Don't worry about making everything absolutely perfect; it's about enjoying the art, you know? These patterns are truly designed to be easy to pick up, and you'll likely feel a sense of accomplishment quite quickly, honestly.
Dots and Lines: The Building Blocks
Dots and lines are the absolute foundation of all henna art, and they are incredibly easy to master. Start by practicing drawing simple dots of various sizes. Just gently press the cone, let a dot form, then lift straight up. For lines, apply steady pressure and drag the cone across your skin. You can make straight lines, wavy lines, or even zigzags. Combine them to create simple borders or patterns, like a row of dots along a finger, or parallel lines on your wrist. It's pretty basic, but very effective, actually.
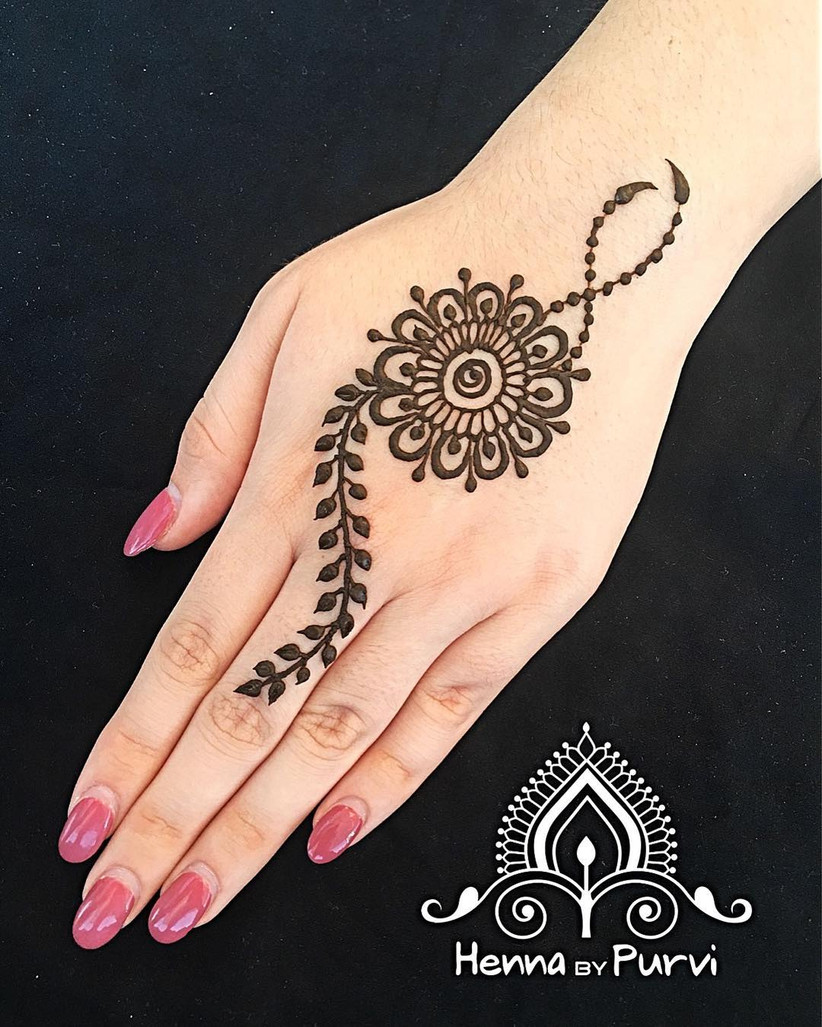
Simple Flower Petals
You can create charming flower petals with just a few strokes. To make a simple petal, draw a small teardrop shape. For a flower, draw five or six of these teardrops around a central dot. You can fill them in or leave them as outlines. This is a very common motif, and it looks lovely on the back of a hand or on a finger. You might even add a tiny dot inside each petal for a little extra detail, you know?
Leaf and Vine Patterns
Leaves are also quite straightforward. Draw a curved line for the stem, then add small, elongated teardrop shapes on either side for the leaves. You can make the leaves pointed or rounded. Vines are just a series of connected curved lines, often with small leaves or dots branching off. These are great for extending designs along the arm or leg, giving a flowing, natural look. It’s a very organic way to decorate, more or less.
Geometric Shapes and Grids
Basic geometric shapes like squares, triangles, and circles are surprisingly effective. You can draw a series of small squares, then fill some in to create a checkerboard effect. Or, draw a grid of lines and fill in alternating squares with dots or tiny patterns. Circles are easy to draw freehand, or you can use something small and round, like a coin, as a guide for a perfect circle. These designs tend to look very neat and modern, which is quite appealing to many people, you know?
The Mandala Dot
This isn't a full mandala, but rather a simple, central dot from which you can build. Start with one medium-sized dot. Then, draw a circle of smaller dots around it. After that, you can add another ring of even smaller dots or tiny petals. This creates a focal point that looks intricate but is built from very basic elements. It's a bit like creating ripples in water, starting from one point, you know? This is a great way to start if you want something that looks a little more complex without actually being hard to do, as a matter of fact.
Tips for a Perfect Stain
Getting a dark, long-lasting henna stain is part of the fun! After you’ve applied your easy design, there are a few things you can do to help it along. First, let the paste dry completely. This can take a few hours, so be patient. Once it's dry, the paste will start to crack and flake off. Don't wash it off with water!
Instead, gently scrape off the dried paste. You can use the back of a spoon or your fingernail. The design underneath will appear orange at first, but it will deepen over the next 24-48 hours. To help it darken, you can apply a mixture of lemon juice and sugar to the dried henna paste while it's still on your skin. This keeps the paste moist and helps the dye release more effectively, which is a neat trick. Also, try to keep the area warm, perhaps by wrapping it lightly, as warmth helps the stain develop. Avoiding water for the first 12-24 hours after removing the paste is also very important for a good, rich color, you know? The longer you keep the area dry, the better the final result will be, generally.
Henna's Rich Past and Wellness Perks
It’s truly fascinating to consider how long henna has been a part of human culture. This ancient art form, as we discussed, traces its roots back thousands of years across different cultures, which is pretty incredible. It has been used in rituals, celebrations, and as a form of personal expression for a very, very long time. From ancient Egypt, where it was used as a hair and body dye, notably, to various cultures today, henna holds a significant place, you know?
Beyond its beauty, henna is an ancient medicinal plant, with a history of use as a natural dye for over 4,000 years. Its natural properties are quite remarkable. For example, the antifungal and antimicrobial properties of the henna plant may be beneficial for the hair and scalp. People have traditionally used it to help with things like hair loss and dandruff, which is interesting to think about. It’s also been associated with relieving headaches, helping to detoxify the body, improving nails, protecting the skin, and even reducing inflammation. So, it's not just about pretty patterns; there's a whole world of traditional wellness connected to this plant, too, which is something to consider, really.
Exploring the origins of henna art truly shows how deeply ingrained it is in human history. It’s a testament to its enduring appeal and its versatile uses, both as a temporary “tattoo” and as a natural hair dye. The leaves of the henna plant contain a natural coloring that has served people for centuries, and it continues to be a popular choice for those looking for a natural alternative for body art and hair care. You can learn more about henna's history on our site, and link to this page here for more natural dye information.
Frequently Asked Questions About Easy Henna
People often have questions when they're just starting out with henna. Here are some common ones that might be on your mind, too, you know?
What are the easiest henna designs for beginners?
The easiest designs for beginners often involve simple elements like dots, straight lines, wavy lines, and very basic shapes like small circles or teardrops. Combining these can create charming patterns like rows of dots, simple flower outlines, or small leaf motifs. The key is to start with elements you feel comfortable drawing individually, then combine them, which is pretty straightforward, really.
How long does easy henna last?
The lifespan of your henna design depends on several factors, including how well the paste was applied, how long it stayed on, and how much you wash the area. Generally, a natural henna stain can last anywhere from one to three weeks. Designs on areas like the palms of your hands tend to fade faster because those areas are washed more frequently, you know? To make it last longer, try to keep the area moisturized and avoid harsh scrubbing.
Is it safe to do henna at home?
Yes, doing henna at home is safe, but only if you use 100% natural henna paste. It’s very important to avoid "black henna" or other products that claim to be henna but contain chemicals like PPD (paraphenylenediamine). These can cause severe allergic reactions, scarring, and other health problems, which is something you really need to watch out for. Always check the ingredients and if you're unsure, do a small patch test on your skin first, which is a good habit to get into, you know?
Your Next Steps in Henna Art
So, you've got a good grasp of how to approach easy henna designs. The most important thing now is to simply try it out. Don't be afraid to experiment with different patterns and combinations of dots, lines, and simple shapes. Every design you create, no matter how basic, is a step in your artistic journey. Remember, this is about having fun and expressing yourself. Henna is a wonderful way to add a touch of temporary beauty to your body, and it's something you can truly enjoy doing yourself. Just keep practicing, and you'll see your skills grow, which is pretty rewarding, honestly.
Detail Author:
- Name : Aaron Corwin DVM
- Username : maci33
- Email : iharber@hotmail.com
- Birthdate : 1978-06-17
- Address : 91217 Ora Route West Alenaborough, OK 34791-0539
- Phone : 1-364-635-6579
- Company : Stehr-Quigley
- Job : Numerical Tool Programmer OR Process Control Programmer
- Bio : Debitis sed nisi alias dolorum ea. Placeat eligendi et dolorem qui eum aut molestiae. Dolores vel quos eligendi inventore. Dolor sit consequatur odit eligendi facere rerum quae.
Socials
tiktok:
- url : https://tiktok.com/@gregmante
- username : gregmante
- bio : Eligendi voluptatibus nesciunt quas corrupti et quos.
- followers : 3291
- following : 649
twitter:
- url : https://twitter.com/mante1994
- username : mante1994
- bio : Quia provident eveniet explicabo mollitia. Aut tempore expedita velit voluptatem non cum. Autem inventore sint suscipit laboriosam voluptate labore.
- followers : 3545
- following : 220
instagram:
- url : https://instagram.com/gmante
- username : gmante
- bio : Nesciunt totam voluptatem repellendus molestiae. Qui enim ut laborum qui et.
- followers : 2865
- following : 1191
linkedin:
- url : https://linkedin.com/in/greg5123
- username : greg5123
- bio : Velit nam doloremque deserunt laboriosam.
- followers : 5527
- following : 2879
facebook:
- url : https://facebook.com/gregmante
- username : gregmante
- bio : Optio possimus vel assumenda maxime libero autem.
- followers : 289
- following : 2239
